
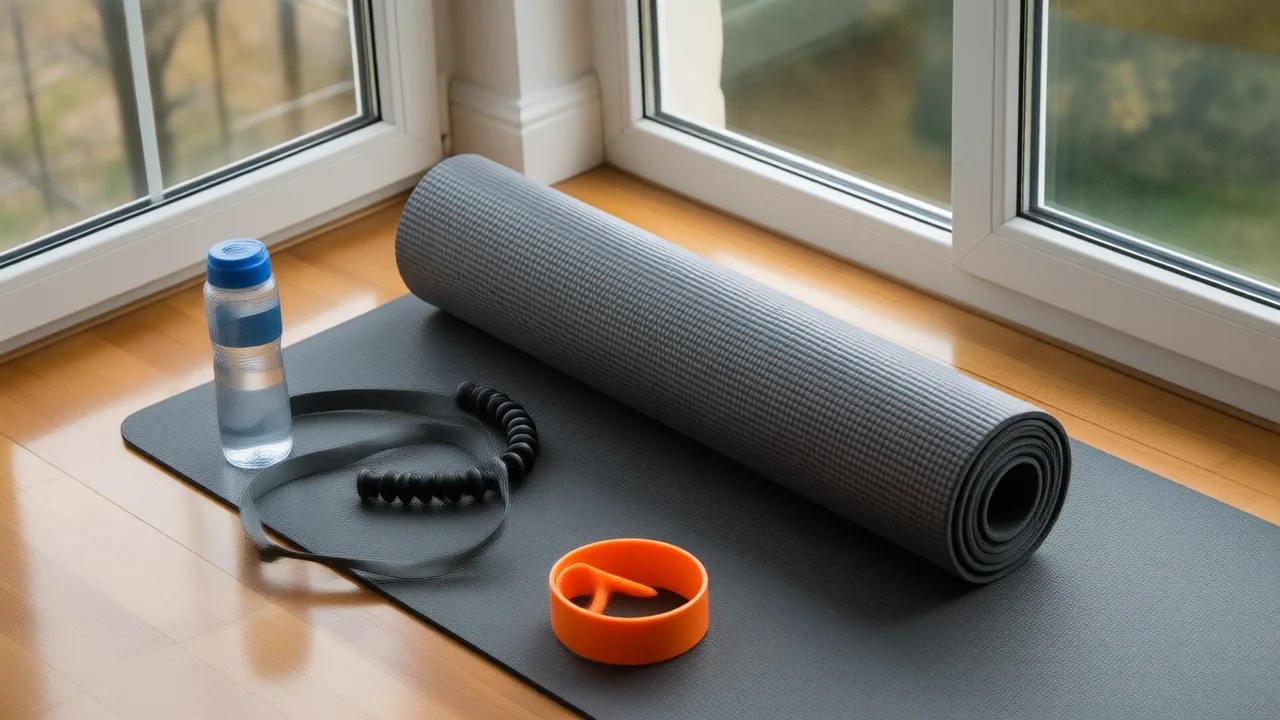
Short answer: Core exercises for amputees build the trunk and hip muscles that steady you over a prosthesis, which can make walking smoother and take load off your lower back. Start on the floor with pelvic tilts, bridges on a towel roll, side-lying hip lifts and prone work, move to seated balance, then to standing weight shifts with support. Get your physical therapist’s OK first.
This guide is for lower-limb amputees at any stage, from those still healing to long-time walkers with a stubborn back. It explains why your core does extra work on a prosthesis and gives a simple floor-to-standing progression. For the bigger world of sports and activity, start with our guide to adaptive sports for amputees.
Why core strength matters when you walk on a prosthesis
A prosthesis replaces what was lost, but not the muscles that used to control it. A below-knee leg has no calf muscles pushing you forward. An above-knee leg has no thigh muscles controlling the knee. Your hips and trunk pick up much of that work, balancing you over the leg with every step.
That extra work shows up in three ways:
- Energy. A 2021 meta-analysis found people with lower-limb amputation use significantly more energy to walk, from about 12% more for non-vascular below-knee amputation up to about 102% more for vascular above-knee amputation.
- Back pain. The Amputee Coalition’s guide to avoiding secondary pain reports that in a survey of people with limb loss, 62% had low back pain. It explains that other muscles and joints carry extra stress after amputation, and that back extension strengthening and balance exercises help decrease stress on the low back and hips.
- Falls. In a 2001 study of 435 lower-limb amputees, falling was linked to above-knee amputation, back pain and joint pain.
A strong core won’t fix a poorly fitting socket or replace gait training. But it gives your therapist more to work with.
Before you start: clearance and ground rules
- Get cleared. Your surgeon or physical therapist should OK floor work, especially while the incision is healing. Your PT can also set the number of repetitions and holds for you.
- Quality over quantity. Move slowly and stop a set when your form slips. A wobbly rep teaches the wrong pattern.
- Breathe. Exhale as you tighten your abdominals. Holding your breath raises effort without adding strength.
- Protect the limb’s skin. Put a folded towel or pad under your residual limb for floor work, and check the skin afterward.
- Pain is a stop sign. Muscle effort is fine. Sharp pain in your back, hip or residual limb is not.
Stage 1: core strengthening exercises for amputees on the floor
Floor work is where to begin, because the floor holds you while you learn to control your trunk. Do these on a firm mat, prosthesis off.
- Pelvic tilt with a brace. Lie on your back. Gently flatten your low back into the floor by tightening your lower abdominals, hold briefly, and release. If you have your own knee, bend it; above-knee, let the residual limb rest flat.
- Bridge on a roll. Place a firm towel roll or foam roll under the residual limb and your sound foot flat on the floor. Squeeze your glutes and lift your hips, keeping them level. The roll lets the residual side share the work.
- Dead bug, modified. On your back, arms toward the ceiling, slowly lower one arm overhead while keeping your low back flat. Add small leg movements once that’s easy.
- Side-lying hip lift. Lie on your sound side and lift the residual limb toward the ceiling, keeping it slightly behind you rather than forward. These hip muscles keep your trunk from leaning over the prosthesis when you walk.
- Prone lying and back extension. Lying on your stomach stretches the front of the hip. MedlinePlus discharge instructions after leg amputation recommend lying on your stomach 3 or 4 times a day for about 20 minutes to stretch the hip muscle. Once your PT agrees, add gentle back extension: lift your chest slightly off the floor, hold, lower.
Stage 2: seated core work
Sitting takes away the floor’s support but not your base. Sit on the edge of a firm bed, bench or chair without armrests, with the prosthesis off.
- Seated reaches. Reach forward, to each side and diagonally, as far as you can while staying balanced. Return slowly to upright.
- Seated trunk rotation. Hands on your chest, turn your shoulders gently left and right while your hips stay still.
- Ball toss. With a partner, catch and toss a light ball thrown slightly to each side. It trains the quick corrections you use when you stumble.
- Unstable surface. Once seated work is easy, your PT may progress you to a cushion or an exercise ball, with someone beside you.
Stage 3: standing with your prosthesis
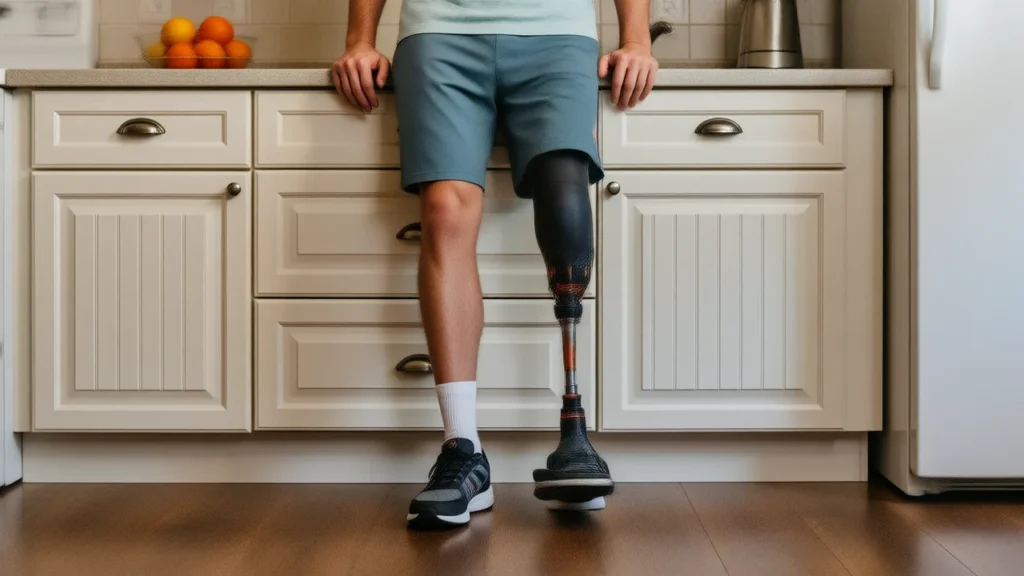
Standing exercises connect core strength to walking. Do them at a sturdy kitchen counter, with a chair behind you. If you walk with a cane, our cane guide (coming soon) covers which hand to use it in.
- Weight shifts. Shift your weight slowly toward the prosthesis and back, then forward and back. Aim for a level pelvis and an upright trunk, not a lean.
- Prosthetic-side stance. With both hands on the counter, lift the sound foot slightly for a few seconds. Progress to one hand, then fingertips.
- Anti-rotation press. Anchor a resistance band at chest height to one side, hold it at your chest, and press it straight out without letting your trunk twist. Our guide to resistance bands for amputees covers setup.
- Reach and return. Reach for objects placed on the counter at different distances, returning to a tall stance each time.
Wear the shoes you walk in most, with a supportive shoe and a fresh crew sock on the sound foot, so your balance training matches your real life.
How often, and how to progress
The CDC’s guidelines for adults with disabilities recommend muscle-strengthening activities for all major muscle groups at least 2 days a week, for those who are able, and say some physical activity is better than none. The CDC also advises talking with a health care professional about the right types and amounts for you.
Progress one thing at a time: more reps, a longer hold, less hand support, or a less stable surface, never all at once. When floor work feels easy, ask your PT about Pilates-style classes; our guide to Pilates for amputees (coming soon) explains what to expect. For mats, balls and bands, see our roundup of exercise equipment for amputees (coming soon).
When to stop and call your PT, prosthetist or doctor
- Physical therapist: back or hip pain that lingers after exercise, or if you can’t do a move without leaning or twisting.
- Prosthetist: new rubbing, red marks that don’t fade, or pain in the socket during standing work, which can point to fit rather than fitness.
- Doctor, the same day: an open sore or blister on the residual limb, new numbness or weakness in either leg, or severe back pain.
- Emergency care: back pain with loss of bladder or bowel control, or numbness in the groin.
Your next step
Pick two floor exercises and one seated one, and do them on two non-consecutive days this week. Bring the list to your next PT visit and ask what to change. Once the core is doing its job, it pays off in more than walking: standing sports like archery (coming soon) depend on the same steady trunk.
Sources
- Prosthetics and Orthotics International (2021) via PubMed — General estimates of the energy cost of walking in people with different levels and causes of lower-limb amputation
- Amputee Coalition — Avoiding Secondary Pain
- Archives of Physical Medicine and Rehabilitation (Miller et al., 2001) via PubMed — The prevalence and risk factors of falling and fear of falling among lower extremity amputees
- MedlinePlus (NIH National Library of Medicine) — Leg amputation: discharge
- CDC — Chronic Conditions & Disabilities Activity
From the Loud Limb shop: prosthetic leg covers in loud prints and printed athletic shorts. Our covers go on the outside of a below-knee prosthesis; measure yours first with the size guide.
Published by Loud Limb, a shop for printed prosthetic leg covers, socks and clothing.