
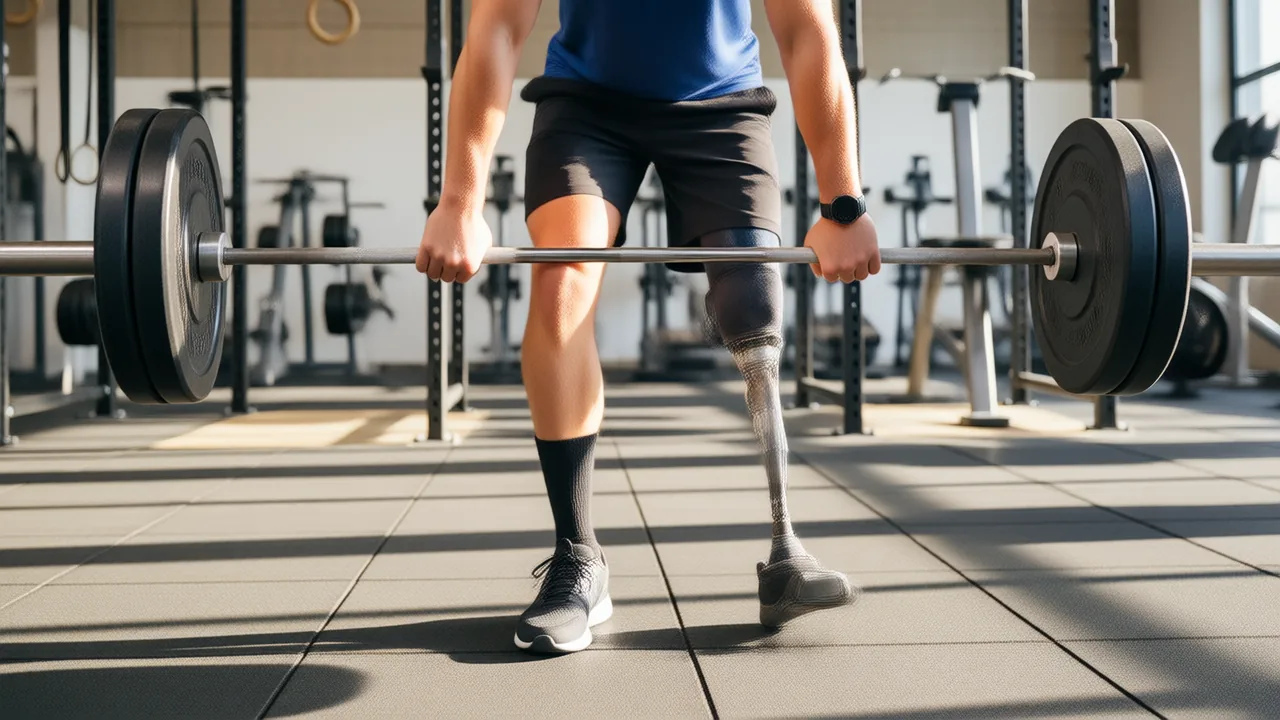
Short answer: Weight training for leg amputees follows the same rules as anyone’s lifting, with a few changes. Get your rehab team’s OK first, train both legs plus hips, back and core, start with machines and supported lifts, add free weights as your balance allows, decide exercise by exercise whether to wear your prosthesis, and check your residual limb’s skin after every session.
This guide is for below-knee and above-knee amputees who want to lift, whether that means getting back to the gym after rehab, trying your first barbell, or walking into a CrossFit box. It covers gym setup, machines versus free weights, how to adapt leg day, and how to keep your residual limb happy while you train. For the bigger menu of sports, see our hub on adaptive sports for amputees.
Why strength training matters after leg amputation
Strength work isn’t optional extra credit. The CDC’s activity guidelines for adults with disabilities recommend muscle-strengthening activities that work all major muscle groups at least 2 days a week, for those who are able, and say some activity is better than none.
After an amputation, there’s a specific reason to take that seriously. The Amputee Coalition’s guide to avoiding secondary pain explains that other muscles and joints have to carry extra stresses and loads. In a survey it cites, nearly 50 percent of people with limb loss reported pain in their non-amputated limb, and 62 percent reported low back pain. The same guide recommends back extension strengthening and balance exercises to ease stress on the low back and hips.
In plain terms: your sound leg, hips and back are doing overtime. Making them stronger is one of the few things fully in your control.
Before you start: clearance and a plan
Talk to your doctor and physical therapist before you add load, especially in the first year after surgery or if you have heart, vascular or diabetes-related conditions. The CDC advises checking with a health care professional or physical activity specialist about the right types and amounts of activity for you.
Your physical therapist is the best person to write your first program, because they know your strength, balance and any joint limits. Ask them:
- Which lifts should I avoid for now, and which are safe to start?
- Which exercises should I do with the prosthesis on, and which with it off?
- What range-of-motion work do I need to protect my knee or hip?
- How do I progress safely, and what signs mean I should back off?
Also ask your prosthetist. Prosthetic feet and components are rated by their makers for body weight and activity level, and heavy lifting adds load on top of your body weight. Tell them what you plan to lift so they can say whether your current setup suits it.
Setting up your amputee gym routine
A little planning makes a regular gym work much better.
- Pick your spots. Train near a bench, rack or wall you can reach for balance. Set up dumbbells at bench height so you’re not bending to the floor on one leg.
- Know where the leg goes. If you’ll take the prosthesis off for some exercises, choose a spot where it won’t be kicked or tripped over, and keep crutches or a chair nearby for moving between stations.
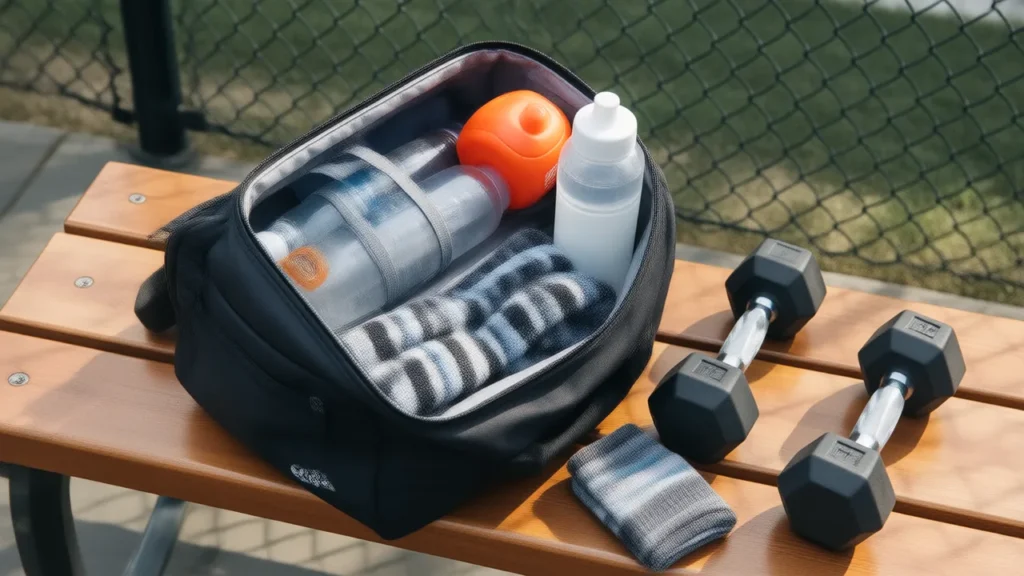
- Pack for sweat. Bring a towel, extra prosthetic socks, and whatever your prosthetist recommends for drying your liner.
- Wear what lets you see. Shorts make it easier to check your knee and alignment in the mirror. If a below-knee leg is on show, a printed cover over the outside of it is a way to make it part of the kit.
- Tell staff or a trainer what you’re working on, especially if you’ll use the floor for exercises done off the leg.
If you’re building a home setup instead, our guide to exercise equipment for amputees (coming soon) covers what’s worth buying.
Machines vs free weights with a prosthetic leg
Both have a place. Which you lean on depends on your balance, your level and your goals.
| Machines and cables | Free weights | |
|---|---|---|
| Balance demand | Low; most are seated or supported | Higher, especially standing lifts |
| Good for | Starting out, isolating one leg, training safely on bad balance days | Building real-world strength, balance and coordination |
| Watch for | Seats and pads that press on the socket rim or residual limb | Loading one side more than the other; losing balance mid-lift |
| Prosthesis | Often optional for upper-body machines | Usually worn for standing lifts, if it fits well |
A practical path is to learn a movement on a machine or with a light dumbbell while seated, then progress to supported standing versions, then free standing, as your therapist clears you.
Leg day adaptations for amputees
Leg day doesn’t go away. It gets a little more creative.
Train the residual limb too
Your residual limb still has muscles to strengthen. Hip extension, abduction and adduction on a cable or machine work the hips on both sides; below-knee amputees can also train knee extension and flexion. Range of motion matters as much as strength here. The Amputee Coalition’s below-knee guide says the most common contracture after below-knee amputation is at the knee, and its above-knee guide notes that above-knee amputees may have trouble with hip contractures. Ask your therapist which stretches and end-range exercises belong in every session.
Squats, deadlifts and leg press
- Squats: Start with box or bench squats, holding a rail or rack, so depth is controlled and you always have somewhere to sit. Watch whether you’re shifting all the load onto the sound side.
- Deadlifts: Hip-hinge work builds the back extensors the Amputee Coalition recommends strengthening. Learn the hinge light, with coaching, before loading it.
- Leg press: Useful for training the sound leg alone. Check that the seat and footplate angle don’t jam your socket rim into your limb.
- Single-leg work: Step-ups and split squats on the sound leg need a solid handhold. Progress slowly.
Uneven loading is the thing to keep an eye on. Pain in the sound knee, hip or back is a signal to adjust the program with your therapist, not to push through.
Upper body, core and amputee CrossFit
Upper-body and core work can often be done seated or lying down, with or without the leg, which makes them easy wins on days your limb needs a break. Rows, presses, pull-downs and back extensions all transfer straight into getting up from the floor, carrying things and walking with better posture.
High-intensity classes like CrossFit are built on scaling, which makes them easier to adapt than they look: box jumps become step-ups, running becomes rowing or a bike, burpees change shape. Talk to the coach before your first class about which movements you’ll swap. If you like the conditioning side, our guides to adaptive rowing (coming soon), amputee martial arts (coming soon) and running a marathon with a prosthetic leg go deeper.
Protecting your residual limb while you lift
Sweat is the socket’s oldest enemy. A 2014 literature review in the Journal of Rehabilitation Research and Development found that more than 53% of people with amputation in the studies it looked at had heat or sweating discomfort inside their prosthesis. Hard training only adds heat.
- Take breaks to remove the leg, dry the liner and your skin, and change socks if needed. Follow your liner maker’s instructions for wiping it down.
- Watch for pistoning or a socket that feels loose as you sweat or as your limb volume shifts during a long session.
- Check your skin after every workout, with a mirror for the back of the limb. Friction plus sweat is the recipe for rubs; see our guide to blisters on the residual limb (coming soon).
Call your prosthetist if the socket starts feeling loose, tight or unstable under load, you hear new noises from the foot or knee, or you’re adding socks mid-session to stay in. Stop and call your doctor for an open sore, a blister that breaks, redness that spreads or stays, warmth, fever, new severe pain, or numbness. Don’t pad over skin damage and keep lifting.
Your first month in the gym
- Get clearance and a starter program from your physical therapist.
- Tell your prosthetist what you plan to lift.
- Train at least 2 days a week, hitting legs, hips, back, chest, shoulders and core.
- Start on machines and supported lifts; earn the free-standing ones.
- Stretch the knee or hip your team told you to protect, every session.
- Check your skin every time you take the leg off.
Sources
- CDC — Chronic Conditions & Disabilities: Physical Activity Basics
- Amputee Coalition — Avoiding Secondary Pain
- Amputee Coalition — Beginning Your New Journey: Below-Knee Amputation (2025)
- Amputee Coalition — Beginning Your New Journey: Above-Knee Amputation (2025)
- Journal of Rehabilitation Research and Development (2014) — Prevalence of heat and perspiration discomfort inside prostheses
From the Loud Limb shop: printed athletic shorts and printed crew socks.
Published by Loud Limb, a shop for printed prosthetic leg covers, socks and clothing.