
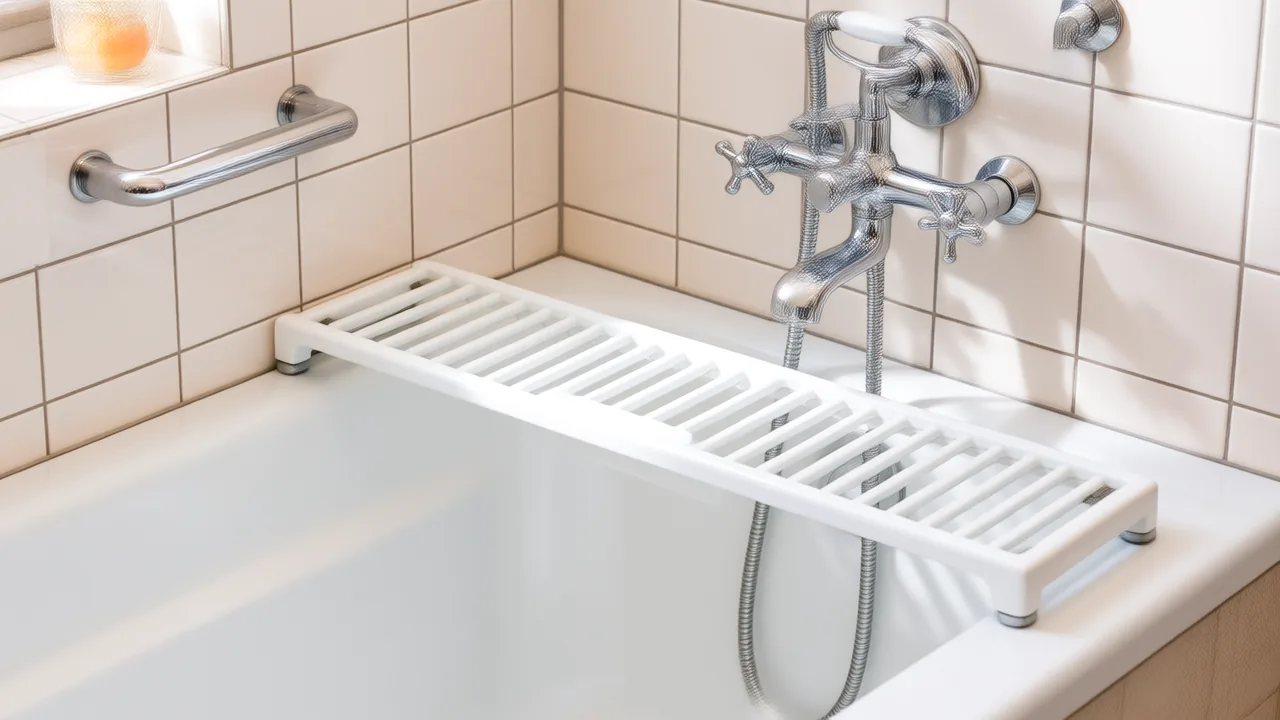
Short answer: The best shower chair for an amputee depends on your bathroom. If you shower in a bathtub, a tub transfer bench is usually safer, because you sit down outside the tub and slide across instead of stepping over the wall on one leg. In a walk-in shower, a chair with a backrest and non-slip feet works well. Add a handheld shower head, grab bars and a non-slip floor.
This guide is for new amputees setting up a bathroom before coming home, long-time amputees rethinking an old setup, and the family members holding the tape measure. It covers chairs versus benches, the features that actually matter, the upgrades that make a seated shower easy, and a safe way to get in and out.
Why a shower seat matters after leg amputation
Most people take their everyday prosthesis off to shower. A leg built for water exists, and the VA/DoD rehabilitation guideline patient summary lists showering as one example of an activity-specific prosthesis, but most people do not have one on day one. That leaves you balancing on one foot, on a wet surface, with your eyes full of shampoo. Not a great plan.
Bathrooms are risky for everyone. The Amputee Coalition’s bathroom guide cites Consumer Product Safety Commission figures of more than 110,000 accidents a year in bathtubs and showers. And falls are common after leg loss: in a study of 435 community-living lower-limb amputees, 52.4% had fallen in the past year and 49.2% reported a fear of falling. A seat takes balance out of the equation, which is why it belongs near the top of any list for everyday life with a prosthetic leg.
From the Loud Limb shop: printed crew socks and prosthetic leg covers in loud prints. Our covers go on the outside of a below-knee prosthesis; measure yours first with the size guide.
Shower chair vs. tub transfer bench: which one you need
Start with the bathroom you actually have, not the one in the catalog photo.
| Option | Best for | Watch out for |
|---|---|---|
| Shower stool (no back) | Walk-in showers, people with good sitting balance | Nothing to lean on; easy to tip if you twist |
| Shower chair with back | Walk-in or roll-in showers | Must sit fully inside the shower; you still step in |
| Shower bench for amputee use (wider seat) | Walk-in showers with room; people who like to shift around | Takes floor space; check the feet sit flat |
| Tub transfer bench | Bathtubs: two legs inside the tub, two outside | Needs a curtain tucked around it, or water ends up on the floor |
| Sliding transfer bench | Bathtubs, for people who find scooting hard | More moving parts; wheels and locks need checking |
| Rolling shower chair | Roll-in showers with no lip | Brakes must lock reliably on wet tile |
The key difference: with a shower chair, you have to get into the shower first and then sit. With a tub transfer bench, you sit first, outside the tub, then slide across. For anyone who would otherwise step over a tub wall on one leg, that order matters.
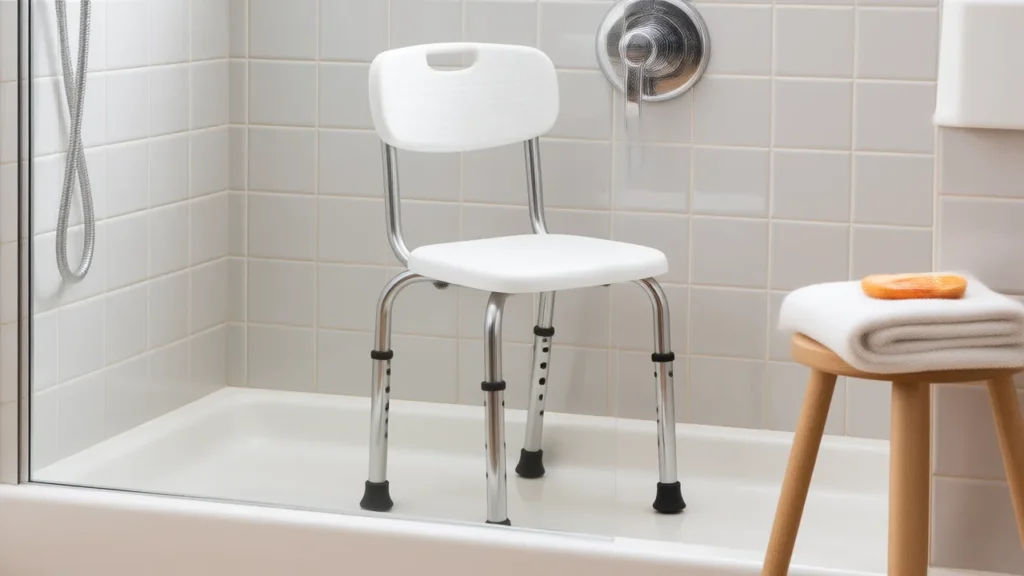
Features that matter on a shower chair for an amputee
Most shower seats look alike in photos. These are the details that separate a good one from a wobbly one.
- Rated weight capacity comfortably above your weight, printed by the maker. Do not guess.
- Adjustable legs so your foot rests flat on the floor with your knee at about a right angle, and the seat sits level on a sloped shower floor.
- Rubber tips or suction feet on every leg. Replace worn ones.
- A backrest, especially early on or after an above-knee amputation, when sitting balance can feel different.
- Armrests to push up from. On a transfer bench, a removable or reversible arm lets you enter from your stronger side.
- A cut-out or open seat front makes washing easier while seated.
- Drainage holes in the seat so you are not sitting in a puddle.
Before you buy, measure the tub or shower floor, the tub wall height and the door width. An occupational therapist can do a home assessment and tell you which setup fits both your body and your bathroom. It is worth asking for one before discharge.
Handheld shower heads: the upgrade that makes sitting work
A fixed shower head was designed for a standing adult. Seated, you get water in your face and not much elsewhere. A handheld head on a long hose lets you rinse exactly where you need to, including your residual limb, without twisting on the seat.
- Choose a hose long enough to reach you in the seated position with some slack.
- A slide bar lets you park the head at seated height.
- An on/off or pause button on the handle saves reaching for the faucet mid-shower.
- Set the water temperature before you sit down, and test it with a hand. If you have reduced sensation anywhere, test it with a part of your body that feels temperature normally.
Grab bars and non-slip floors
The Amputee Coalition’s bathroom guide recommends grab bars to support you getting into and out of the tub, and a suction-cup rubber mat or nonslip adhesive strips on the tub floor to reduce slips. A few practical notes:
- A towel bar is not a grab bar. Neither is a soap dish or a shower curtain rod.
- Grab bars need solid anchoring into studs or proper wall anchors. Suction-cup bars can let go when you need them most.
- Put a bar where your hand naturally lands as you sit down and stand up, not where it looks tidy.
- Keep a non-slip mat outside the tub too. The floor you land on after a shower is wet.
Good lighting helps, especially at night. If you are thinking about voice-controlled lights or a smart speaker that can call for help, our guide to smart home tech for amputees (coming soon) covers the options.
How to use a tub transfer bench safely
Your physical or occupational therapist should teach you the version that suits your body and amputation level. This is the general order most people follow:
- Set everything up first: soap, towel, clothes and phone within reach, water temperature checked.
- Approach with your stronger side leading. If you use a wheelchair, lock the brakes.
- Back up until you feel the bench against the back of your leg, reach back for the armrest or grab bar, and sit down on the outside part of the bench.
- Slide across in small moves, then lift your leg, and your residual limb if needed, over the tub wall.
- Shower seated. Reverse the steps to get out, and dry off before you stand.
If sliding is hard, a transfer board (coming soon) can bridge the gap between wheelchair and bench. If a family member helps, a gait belt (coming soon) gives them a safe place to hold instead of your arm.
After the shower: skin and the prosthesis
A shower is also the right moment for residual limb care. The Amputee Coalition’s skin care guide says to wash the limb with a non-soap cleanser and dry it completely with a soft towel. It also points out that washing at night gives the skin time to dry fully before you put the prosthesis on in the morning, which is one good reason to make the evening shower your routine.
Get dressed seated, on the bench or on your bed. If your bed is too low to stand up from easily, see our guide to the right bed height for amputees.
When to call your therapist or doctor
- After any fall, even one where you feel fine. The CDC notes that more than one in four older adults falls each year, but less than half tell their doctor. Tell yours. A fall can mean the setup, the fit or your balance needs attention.
- If you are scared to shower, or skipping showers because of it, ask your occupational therapist for a home visit or a new plan.
- Call your doctor if you find an open sore, a cut, redness that spreads, warmth, drainage or fever on your residual limb, or if you hit your limb during a transfer and new pain or swelling does not settle.
If you live on your own, the stakes of a bathroom fall are higher. Our guide to living alone as an amputee covers alert devices and a daily check-in plan.
Your bathroom setup checklist
- Tub: a transfer bench. Walk-in shower: a chair with a back.
- Seat height adjusted so your foot sits flat.
- Handheld shower head within reach from the seat.
- Anchored grab bars where your hands land.
- Non-slip surface inside and outside the shower.
- Towel, clothes and phone within reach before the water goes on.
Sources
- VA/DoD Clinical Practice Guideline (2024) — Rehabilitation of Individuals with Lower Limb Amputation: Patient Summary
- Amputee Coalition — Activities of Daily Living: Bathroom Edition
- Archives of Physical Medicine and Rehabilitation (2001) — The prevalence and risk factors of falling and fear of falling among lower extremity amputees
- Amputee Coalition — Skin Care 101
- CDC — Facts About Older Adult Falls
Published by Loud Limb, a shop for printed prosthetic leg covers, socks and clothing.