
Short answer: Here’s how to wrap a residual limb: roll an elastic bandage on in diagonal, overlapping figure-eight turns, starting at the end of the limb and working up. Pressure should be firmest at the end and lighter toward the top, with no wrinkles and no straight circles around the limb. Rewrap whenever it loosens. Learn it hands-on from your nurse or physical therapist first; use this as a refresher.
This guide is for new amputees in the weeks after surgery and the partners, parents and friends who end up doing the wrapping. It explains why wrapping matters, walks through the figure-eight pattern for below-knee and above-knee limbs, and covers the mistakes that cause trouble. For the full daily routine beyond the bandage, see our guide to caring for your residual limb.
One rule up front: techniques vary between hospitals and care teams. If yours taught you a different pattern, follow theirs.
Why residual limb wrapping matters
After surgery, the residual limb swells. Wrapping does two jobs at once. The VA/DoD guide to residual limb management says swelling is controlled and the limb shaped with either elastic bandage wrapping or a shrinker. The Amputee Coalition adds that compression dressings reduce swelling and begin shaping the limb for prosthetic fitting.
That shaping is the point. A prosthetic socket fits best on a limb that has settled into a smooth, gently tapered shape. A limb that stays swollen, or bulges in the wrong places, makes that first fitting harder.
Elastic wraps are one of several options. A Cochrane review of dressings after below-knee amputation describes soft dressings, like elastic or crepe bandages, as cheap and easy to apply, while rigid dressings cost more and need skilled staff. It found the evidence too uncertain to say whether rigid dressings speed healing. Your surgeon picks the approach, and you may move between them.
What you need before you start
- Elastic bandages in the width and number your care team recommends. Above-knee limbs usually need more length than below-knee ones.
- Tape or the fasteners your team gave you. Keep any clips away from the end of the limb and bony spots, where they can dig in.
- A clean, dry limb. Follow your team’s instructions for the incision and any dressing under the wrap.
- A second set of bandages, so one can be washed and dried while you wear the other.
- A helper, at first. Above-knee wraps in particular are much easier with a second pair of hands.
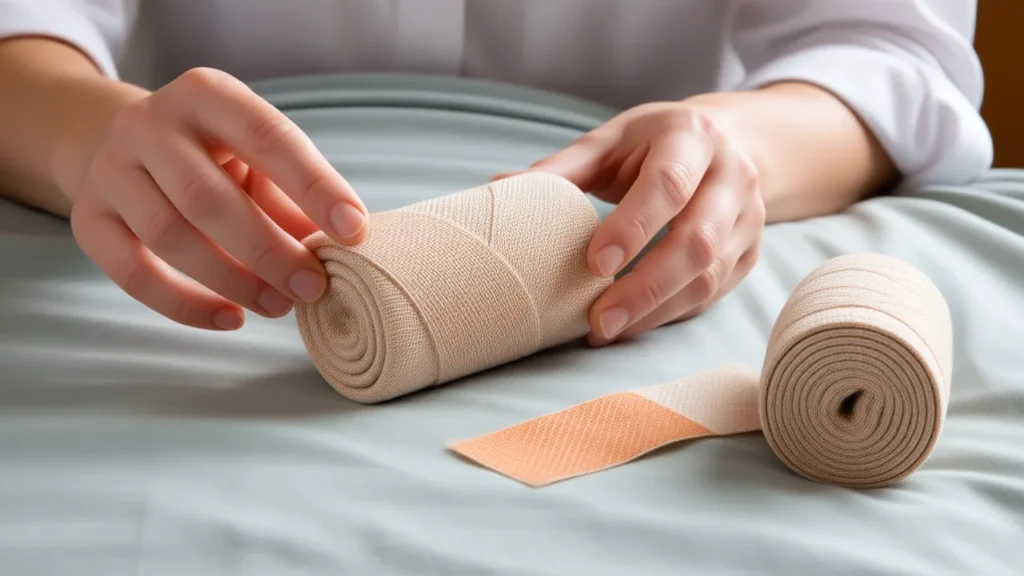
Roll each bandage up snugly before you begin. A loose roll makes it hard to keep pressure even.
The figure eight wrap, step by step
The figure-eight pattern uses diagonal turns that cross each other, rather than circles. Diagonals let pressure spread evenly; circles act like a band squeezing one line.
Below-knee limb
- Sit with your knee straight, or as straight as is comfortable. Wrapping with the knee bent can bunch the bandage behind it.
- Start at the front of the limb near the knee. Bring the bandage down over the end of the limb and up the back. Repeat a few lengthwise passes, angling slightly each time, so the end is fully wrapped.
- Now begin diagonal turns: from the end, angle the bandage up across the front, around the back, and down across the front again, making an X over the front of the limb.
- Overlap each turn over the last so no skin shows between layers.
- Keep the pull firmest at the end and ease off slightly as you work upward.
- If your team taught you to anchor above the knee, bring the final turns around the lower thigh without covering the kneecap, so the knee can still bend.
- Fasten the end on the side or front of the limb, away from the end and bony spots.
Above-knee limb
The same diagonal pattern applies, starting with lengthwise passes over the end and working up the thigh with crossing turns. The difference is the anchor: above-knee wraps usually continue around the hip and waist, so the bandage doesn’t slide down. It also needs to reach high on the inner thigh, into the groin. Leaving that area unwrapped can let a roll of tissue form there, which later rubs against the socket. This is the wrap where a helper, and a demonstration from your therapist, matter most.
How tight is right
Aim for firm, even and smooth. A few checks:
- Tighter at the bottom, looser at the top. The pressure gradient pushes fluid up and out of the limb’s end. Reverse it, and you trap swelling at the end.
- No wrinkles or folds. Every crease is a line of pressure on skin that may still be healing.
- No uncovered windows. Gaps between turns let tissue bulge through.
- It should feel snug, never painful. Throbbing, tingling, numbness, or skin that turns pale, blue or dusky beyond the wrap means it’s too tight. Unwrap and start again.
The Amputee Coalition’s wound-care guidance says to report increased pain or numbness, which can mean swelling or a dressing that is too tight. If loosening the wrap doesn’t fix it quickly, call your care team.
Rewrapping: how often and when
Elastic loosens as you move, sit and sleep, so a wrap that was right at breakfast may be sagging by lunch. MedlinePlus discharge instructions after leg amputation say to wear the elastic bandage all the time, which in practice means rewrapping several times a day and any time it slips, bunches or loosens. Your care team will tell you when to take it off, such as for bathing and skin checks.
Each time you unwrap, look at the skin before you rewrap. Check for red marks that don’t fade, blisters, and any change around the incision. A hand mirror helps with the back of the limb.
Wash bandages as your care team or the packaging directs and let them dry fully. Elastic that has lost its stretch can’t hold even pressure, so replace worn ones.
Common wrapping mistakes
- Wrapping in circles. Straight turns around the limb can act like a tourniquet. Always angle them.
- A loose end. If the end isn’t wrapped firmly, fluid collects there, which is exactly what you’re trying to prevent.
- “Dog ears.” Little corners of tissue poking out at the sides of the end mean the lengthwise passes didn’t wrap far enough around.
- Bunching behind the knee. This digs in every time you bend. Start with the knee straight.
- Wrapping over damp skin. Moisture under a bandage invites skin trouble. See our guide to blisters on the residual limb (coming soon) for what to do if one forms.
- Ignoring pressure spots. A red mark that stays after the wrap is off can be an early warning. Our guides to pressure sores and residual limb discoloration explain what to watch.
If the limb is so sensitive that wrapping is hard to tolerate, tell your therapist. Our guide to desensitizing a residual limb covers the techniques they may suggest.
From wrap to shrinker
Many people move from elastic bandages to a shrinker, a stretchy sleeve that pulls on like a sock. In the Amputee Coalition’s below-knee amputation guide, a shrinker may be fitted within the first week to begin shaping the limb. Timing depends on your incision and your surgeon’s plan, and some people keep wrapping longer.
Once you’re in prosthetic training, the VA/DoD guide says to use shrinker compression whenever you’re out of the prosthesis. Later, socks and liners take over managing volume in the socket; our explainer on socks versus liners covers that stage.
When to call your care team
Unwrap and call your surgeon or care team the same day if you notice any of these, which MedlinePlus lists as reasons to call:
- the limb looks redder, or has red streaks;
- it feels warmer;
- it swells more;
- there is new drainage from the incision.
Also call for fever, an opening in the incision, a blister or sore, or new severe pain or numbness that doesn’t ease when you loosen the wrap. Later on, a new lump under the skin is worth showing your doctor too; our guide to residual limb cysts explains what those can be.
A quick wrap checklist
- Clean, dry limb and a freshly rolled bandage.
- Lengthwise passes over the end first.
- Diagonal figure-eight turns, never circles.
- Firmest at the end, lighter toward the top.
- No wrinkles, no gaps, no dog ears.
- Fastened away from the end and bony spots.
- Rewrap when it loosens; check the skin every time.
Sources
- VA/DoD Lower Limb Amputation CPG clinical support tool (2025) — Residual Limb Management in Lower Limb Amputation
- Amputee Coalition — Care of Your Wounds After Amputation Surgery
- Cochrane Database of Systematic Reviews (2019) via PubMed — Rigid dressings versus soft dressings for transtibial amputations
- MedlinePlus (NIH National Library of Medicine) — Leg amputation: discharge
- Amputee Coalition — Beginning Your New Journey: Below-Knee Amputation (2025)
Published by Loud Limb. This guide is general information drawn from the sources listed above, not medical advice. Loud Limb sells printed prosthetic leg covers and clothing and is not a clinic: ask your doctor, surgeon or prosthetist about your own care.