
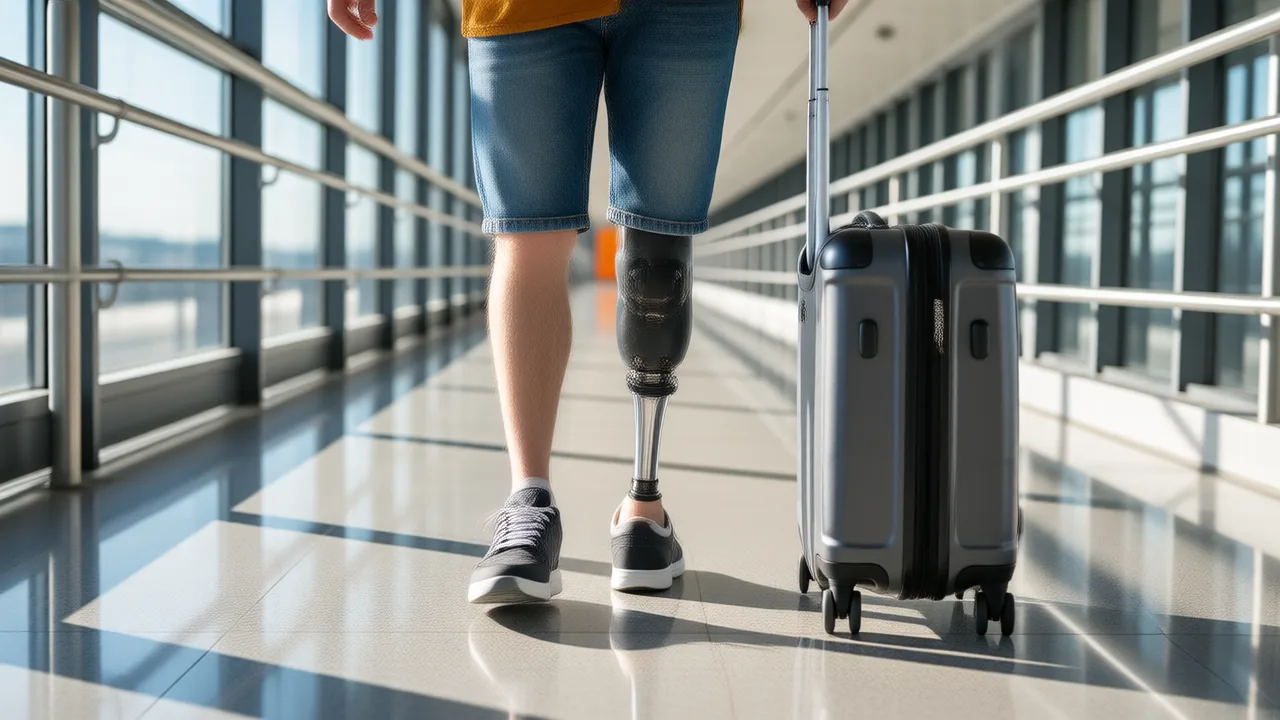
Short answer: The most useful amputee travel tips all come down to planning around your leg. See your prosthetist before a big trip, carry spares and chargers in your carry-on, ask for airport help in advance (TSA asks for at least 72 hours’ notice), call hotels to confirm what an accessible room actually has, and build rest into every travel day.
This guide is for anyone traveling with a prosthetic leg or with limb loss: first trips after an amputation, seasoned flyers who want a better system, and the family member who is doing the booking. It works through the whole trip, from planning and airports to hotels, beaches, cruises and travel abroad, with a link to a deeper guide at each stop.
None of it is complicated. Most travel problems for amputees come from surprises, like a room with a bathtub you cannot use or a charger left at home, and nearly all of them can be headed off with a phone call or a packing list.
Before you book: plan the trip around your leg
The best time to prepare is a few weeks before you leave, not the night before.
- See your prosthetist. Tell them where you are going, how much walking you expect, and whether you will be in water, heat, cold or on uneven ground. Ask for a quick check of the socket, foot and anything that wears. A small adjustment at home is easy. The same problem in another city is not.
- Avoid traveling right after a big change if you can, like a brand-new socket or new components you have not tested for a full day. Ask your prosthetist how long to wear new equipment before a trip.
- Ask what to do if something breaks. Which parts can you swap yourself, which tools you need, and who to call when you are away.
- Look at the walking. Big airports, theme parks, old cities with cobblestones and hilly beach towns all involve more distance and uneven ground than most people guess. Plan shorter days, rest stops and backup transport.
- Pick your days. A long travel day plus a full day of sightseeing is a lot for a residual limb. Leave a lighter day after a long journey.
If you use a microprocessor knee or any powered part, add charging to the plan: cables, a backup battery if your prosthetist approves one, and plug adapters for travel abroad.
Road trips have their own planning. If you drive with hand controls or a left-foot accelerator at home, call the rental company location directly well before pickup to ask what adaptive equipment it can fit, and confirm again the day before. On long drives, plan regular stops to stand, stretch and check your fit, and know where the accessible restrooms are on your route rather than hoping for the best at the next exit.
From the Loud Limb shop: prosthetic leg covers in loud prints and trucker hats. Our covers go on the outside of a below-knee prosthesis; measure yours first with the size guide.
Traveling with a prosthetic leg through the airport
Airport security with a prosthesis is routine, and you do not have to take your leg off. According to TSA’s page on disabilities and medical conditions, you should tell the officer where your prosthesis is before screening begins. In standard lanes the prosthesis gets additional screening, including a test of the device for traces of explosives. You may choose to remove it and send it through the X-ray, and you can ask for private screening at any time, with a witness of your choice present. You can explain your situation out loud, with a TSA Notification Card, or with medical documentation.
If you would like help getting through the checkpoint, TSA has Passenger Support Specialists, officers with specialized training in assisting travelers with disabilities. TSA asks you to request one at least 72 hours before your flight, through the TSA Cares form or by calling (855) 787-2227. Having a specialist with you does not exempt you from screening, but it does mean someone at the checkpoint knows you are coming.
Our step-by-step guide to going through TSA with a prosthetic leg covers what to wear, what the pat-down involves and how to keep it quick.
Airport distances are their own challenge. Airlines can arrange wheelchair assistance from the curb or check-in to the gate, even if you walk well at home. Many amputees who never use a chair in daily life use one at airports to save their limb for the trip itself. Our guide to airport wheelchair assistance (coming soon) explains how to request it and what to expect.
On the plane: comfort on long flights
Flights are mostly about sitting still for a long time in a small space, which is not what residual limbs love. A few habits help:
- Pick your seat on purpose. An aisle seat makes it easier to stretch, stand and get to the restroom. Some people prefer to sit so their prosthetic side is toward the aisle.
- Know your plan for the leg. Some people keep it on for the whole flight, some take it off. If you take it off, ask the crew where it can be stowed, and keep it close so you are not waiting for it at landing.
- Expect fit to change. Your limb can change volume over a long day of sitting, so keep your usual socks within reach and adjust the way your prosthetist has shown you.
- Move when you can. Stand, stretch, and shift position regularly on longer flights.
Our guide to flying with a prosthetic leg (coming soon) goes deeper on booking, seating, stowing the leg and what to do if something goes wrong in the air.
What to pack: the amputee travel kit
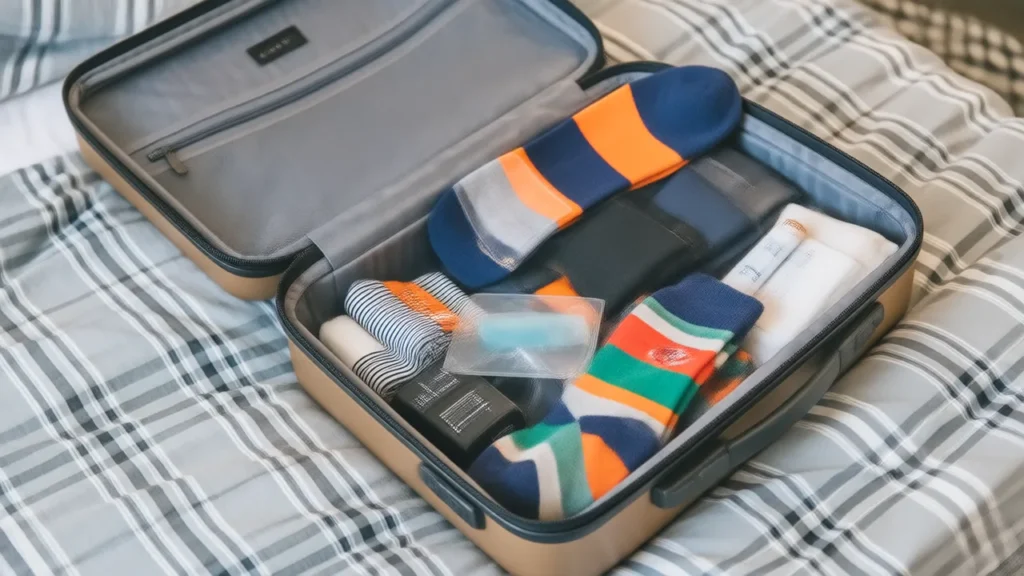
The single most important rule: everything your leg needs goes in your carry-on. Checked bags get delayed, and a spare liner in a suitcase in another state does you no good.
- Extra prosthetic socks in the plies you use, plus one step up and one step down
- A spare liner, if you have one, and your liner cleaning supplies
- Skin care you use at home: cleanser, lotion if your clinician approved it, anything for chafing
- Chargers, cables and plug adapters for any powered components
- Small tools your prosthetist has said you can use, and any spare parts they give you
- A shrinker, if you use one when the leg is off
- A copy of your prosthetist’s contact details and a short note describing your prosthesis
- Crutches or a mobility aid if you rely on one when the leg is off
Pack regular crew socks for your sound foot too. A pair of loud printed crew socks also makes a very easy way to spot your own bag. For a full printable version, including beach and cruise add-ons, see our packing list for amputee travel.
Hotels: getting an accessible room that actually works
Hotels are businesses open to the public, and the ADA.gov introduction to the Americans with Disabilities Act lists businesses open to the public and transportation providers among those that must follow the law. In practice, though, “accessible room” can mean very different things from one hotel to the next. The only way to know is to ask, specifically, and preferably by phone with the hotel itself rather than a booking site.
Questions worth asking:
- Is the shower a roll-in shower, or a tub with grab bars? Is there a shower bench or a fold-down seat?
- How high is the bed, and is there space beside it to put on your leg?
- How far is the room from the elevator, and are there steps anywhere on the way?
- Is there a step at the entrance, the pool or the restaurant?
Get the answers in writing if you can, and confirm again a day or two before arrival. Our guide to accessible hotel rooms for amputees (coming soon) covers the features that matter most and how to ask for them.
Beaches, pools and cruises
Water trips need the most planning. The Amputee Coalition’s First Step guide advises getting medical clearance from your doctor before getting into the water, notes that most people take their prosthesis off before swimming, and says that if using a prosthesis in water is a priority, you should tell your prosthetist. Not every leg is built to get wet, so ask before the trip, not at the shoreline.
Beaches add sand, heat and uneven ground. Sand in a socket or liner is uncomfortable at best, so plan how you will get from the water to your leg, and ask your prosthetist how to clean components if sand or salt water gets into them. Our guide to going to the beach with a prosthetic leg covers getting across the sand, water legs and keeping your gear clean.
Cruises can be an easy way to travel with limb loss, since your room travels with you, but accessibility varies by ship and by port. Ask the cruise line about accessible cabins, how you get off the ship at each stop, and which shore excursions involve long walks or boat transfers. See our guide to taking a cruise with a prosthetic leg (coming soon) for the questions to ask before you book.
Amputee travel abroad
International trips add a few layers: different accessibility standards, different power outlets, and being further from your prosthetist.
- Research accessibility at your destination. Old town centers, public transport and historic sites may have far more stairs and uneven ground than you are used to.
- Check your health coverage abroad and whether travel insurance would cover damage to or loss of your prosthesis. Read the policy’s exclusions.
- Find a prosthetist near where you are staying before you go, just in case. Your own prosthetist may be able to suggest one.
- Carry a short description of your prosthesis and your clinic’s contact details, in case security staff or a clinic abroad needs them.
- Bring the right plug adapters for anything that charges.
Security procedures outside the US are not run by TSA and can differ, so check the rules for each airport on your route. Our guide to international travel with a prosthetic leg covers documents, foreign airports and finding help away from home.
Skin care on the road, and when to call your prosthetist or doctor
Travel is hard on skin: long days, heat, new beds and less time for your usual routine. The Amputee Coalition’s Skin Care 101 explains that sockets trap sweat and block air around the limb, which creates conditions for bacteria to grow, and recommends cleaning and drying your socket, liner and sock daily. On a trip, that means packing whatever you use at home and keeping the routine even when the schedule is packed. Follow your liner’s own care instructions, since they differ between manufacturers.
Call your prosthetist, or a local one if you are far from home, if the socket suddenly feels loose or tight in a way your socks cannot fix, if a part cracks, clicks or feels unstable, or if you cannot wear the leg comfortably. Stop wearing the leg and contact a doctor if you see an open sore or blister, redness that spreads or does not fade, warmth, swelling or drainage, or if you have a fever, new severe pain or numbness. Do not push through those to finish the itinerary.
Amputee travel tips: a pre-trip checklist
- Prosthetist check-up booked a few weeks before you leave.
- Airport help requested: TSA Passenger Support at least 72 hours ahead, and wheelchair assistance through your airline if you want it.
- Hotel called, accessible room features confirmed in writing.
- Carry-on packed with socks, liner, skin care, chargers and tools.
- Water plans cleared with your doctor and prosthetist.
- A rest day built in after the longest travel day.
Sources
- TSA — Disabilities and Medical Conditions
- TSA — Passenger Support
- ADA.gov (U.S. Department of Justice) — Introduction to the Americans with Disabilities Act
- Amputee Coalition — First Step: A Guide for Adapting to Limb Loss (2025)
- Amputee Coalition — Skin Care 101
Published by Loud Limb, a shop for printed prosthetic leg covers, socks and clothing.