
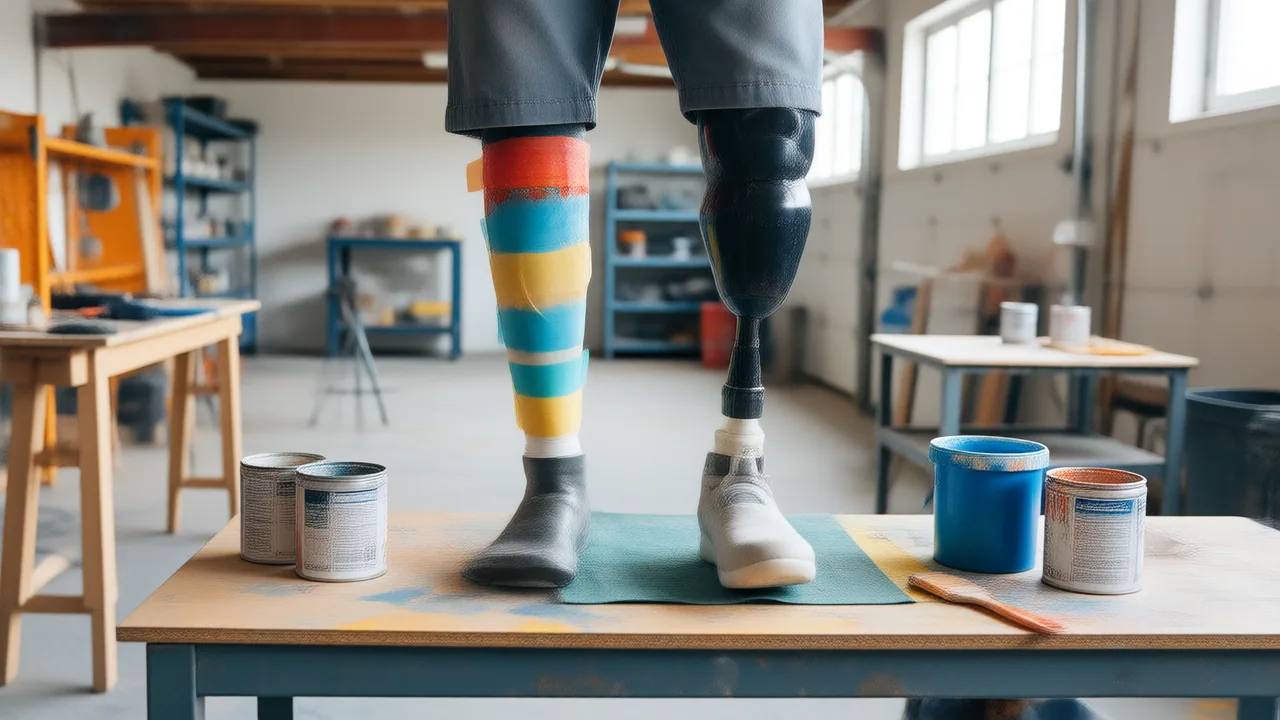
Short answer: To paint a prosthetic leg, ask your prosthetist first which surfaces are safe, then paint only outside, non-moving surfaces such as the outer shell of the socket or a removable cover. Clean and lightly scuff the surface, mask everything else, use a primer and paint made for plastic, seal it with a clear coat, and let it cure fully before you wear it.
People have wanted their legs to look good for as long as there have been artificial legs. A history of prosthetics in the ANZ Journal of Surgery notes that prostheses were developed for function, for cosmetic appearance and for a sense of wholeness. Painting is just the DIY version of that. This guide covers which parts can take paint without affecting how the leg works, what to ask your prosthetist, materials, the steps, and ways to change the look without touching the leg at all.
For a wider look at the options, from custom sockets to covers, see our roundup of cool prosthetic leg designs.
What you can paint on a prosthetic leg, and what you can’t
A prosthetic leg is a medical device, custom-built around your body. The paint rule is simple: outside surfaces that don’t move, don’t touch you, and don’t get adjusted are candidates. Everything else stays bare.
| Part | Paint it? | Why |
|---|---|---|
| Outer surface of the socket | Often, with your prosthetist’s OK | It’s the biggest canvas and doesn’t move, but it’s the most important part of the leg |
| A removable cover, shell or fairing | Usually the best choice | You can paint it off the leg and replace it if it goes wrong |
| Inside of the socket | No | It touches your liner or skin and is precisely shaped to your limb |
| Liner, sleeve, valves, pin lock | No | Paint can affect seal, suspension and skin |
| Knee, ankle and foot joints | No | Paint can gum up moving parts |
| Pylon, clamps, adapters, screws | Ask first | These are where your prosthetist adjusts alignment; paint gets in the way |
The socket deserves extra respect. A paper on lower-limb prosthetic rehabilitation in the Indian Journal of Plastic Surgery (a non-US source) calls the socket the customized part of the prosthesis and crucial to its performance. A scratch or solvent in the wrong place on that shell is not a cosmetic problem.
Ask your prosthetist before you paint
Your prosthetist knows what your socket is made of, what finish is already on it, and what they’ll need to reach at your next adjustment. A short conversation can save you a remake. Bring these questions:
- What is the outside of my socket made of, and is there a clear coat on it already?
- Which surfaces are safe to paint, and which parts must stay bare?
- Are there any paints, primers or solvents I should avoid on this material?
- Would painting affect my warranty, repairs, or a future replacement?
- Could you make me a removable cover or shell I can paint instead?
- If I get a new socket, can you laminate a fabric, print or color into it?
That last question is worth asking even if you still plan to paint. Some prosthetists can build a pattern or fabric right into a new socket as it’s made, which gives you a design that won’t chip.
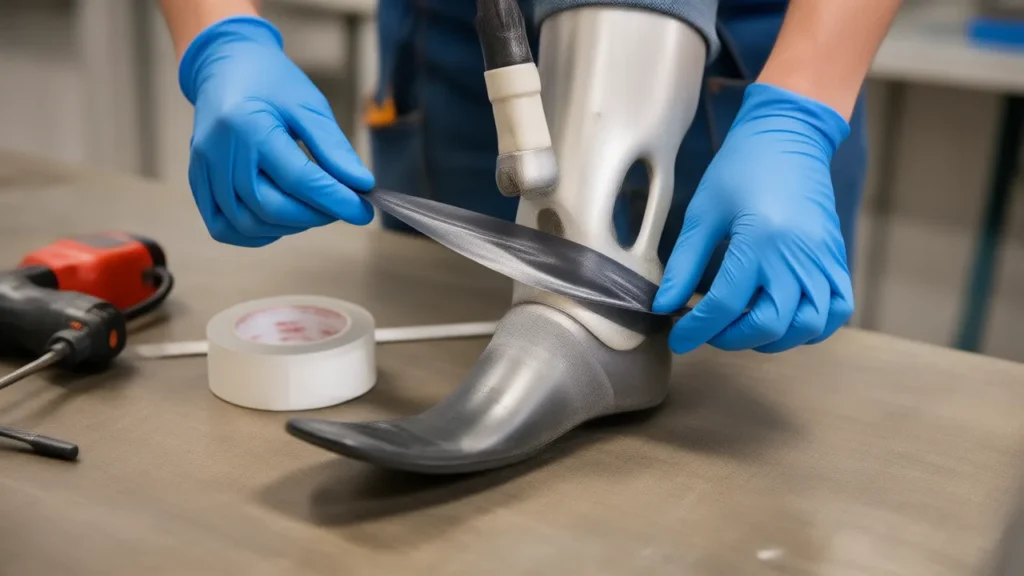
Prosthetic leg paint and supplies
There’s no special “prosthetic leg paint”. You’re painting a hard plastic or composite surface, so use products made for that, and check each label for the surfaces it’s meant for.
- Mild soap and water to clean, and a lint-free cloth.
- Fine-grit sandpaper to lightly scuff a glossy surface so primer can grip, if your prosthetist says the surface can take it.
- Painter’s tape and paper or plastic to mask everything you’re not painting.
- A primer or adhesion promoter for plastic.
- Paint for plastic: acrylic paints and paint markers for detail work, or spray paint labeled for plastic for even color over large areas.
- A clear sealer compatible with your paint, in matte, satin or gloss.
- A ventilated space, gloves and a mask as each product’s label directs.
Test your whole system, primer, paint and sealer together, on a scrap piece of plastic or a hidden spot first. Some combinations wrinkle, crack or never fully harden.
How to paint a prosthetic leg, step by step
1. Take the leg off and set it up
Never paint a leg you’re wearing. Take it off, remove the liner, sleeve and socks, and set the leg upright on a stable surface in a well-ventilated area. You’ll be without it while the paint cures, so plan the project for a stretch when you don’t need it, or have a backup leg or mobility aid ready.
2. Clean and scuff
Wash the area with mild soap and water and let it dry completely. If your prosthetist agreed, lightly scuff glossy areas with fine-grit sandpaper, then wipe the dust away.
3. Mask generously
Tape off the socket rim, the whole inside of the socket, every screw, clamp, adapter, valve and joint, and the pylon if you’re not painting it. Cover the foot and anything below it. Tape is cheap. Paint in a pyramid adapter is not.
4. Prime, then paint in thin coats
Apply a thin, even coat of primer and let it dry as the label directs. Then paint in several thin coats rather than one heavy one, which drips and takes longer to cure. For designs, lay down base colors first, then add details with brushes or paint markers.
5. Seal and cure
Once the paint is fully dry, add a few light coats of clear sealer. Then leave it alone for the full cure time on the label, which is usually much longer than the “dry to touch” time. Remove the tape carefully before the final cure so the edges stay clean.
Keeping paint away from your skin
Paint belongs on the outside of the leg. Anything that ends up where your skin, liner or sleeve touches can cause trouble. Cleveland Clinic explains that contact dermatitis is a rash from touching something you’re allergic to or that irritates your skin, and that an allergic reaction can take several days to appear. So a problem might not show up the day you first wear the freshly painted leg.
Call your prosthetist if the leg fits, feels or sounds different after painting, or if tape, paint or sealer got anywhere near the socket’s inside, the liner or a valve. Take the leg off and call your doctor if you notice a rash, itching, blisters, redness that spreads or skin breakdown where the leg touches you, especially in the days after painting.
Caring for a painted leg
A painted leg takes knocks from car doors, desk legs and the occasional coffee table. Expect some chips over time.
- Clean the painted surface with a damp cloth and mild soap. Skip harsh cleaners and scrubbing pads.
- Keep a little of each paint and sealer for touch-ups.
- If a chip exposes cracks, damage or anything that looks structural, stop and read our guide to prosthetic leg repair (coming soon) before you touch it up. Cracks are a prosthetist’s job, not a paint job.
- Before any fitting or adjustment, tell your prosthetist the leg is painted.
Ways to change the look without painting
If your prosthetist says no, or you like to change your look more often than paint allows, there are options that don’t touch the leg’s surfaces with anything permanent.
- Printed covers. A stretch cover goes on over the outside of a below-knee prosthesis, over everything else, and comes off when you want a change. Loud Limb makes printed covers for below-knee legs, sized by measurement; here’s how to measure your prosthetic leg. They are not for above-knee legs.
- Stickers and decals. Removable and cheap, and great for testing a design. Our guide to prosthetic leg stickers (coming soon) covers placement and removal.
- Permanent art. For something closer to ink, see prosthetic leg tattoo (coming soon) ideas.
- Costumes and seasons. Temporary themes work well for a party or a month. Try our cosplay with a prosthetic leg (coming soon) guide, or decorating your leg for the holidays.
- The foot end. Printed crew socks on the prosthetic foot add color without a brush in sight.
More ideas live in our prosthetic leg cover ideas.
Before you pick up a brush
- Get your prosthetist’s OK, and a list of what stays bare.
- Plan for time without the leg, or a backup.
- Test your primer, paint and sealer together on scrap.
- Mask the inside, the rim and every adjustable part.
- Let it cure fully before wearing, and watch your skin for a few days.
Sources
- ANZ Journal of Surgery (2007) — Paré and prosthetics: the early history of artificial limbs
- Indian Journal of Plastic Surgery (2019) — Prosthetic Rehabilitation in the Lower Limb
- Cleveland Clinic — Contact Dermatitis: Symptoms, Causes, Types & Treatments
From the Loud Limb shop: printed athletic shorts and funny amputee shirts & hoodies.
Published by Loud Limb, a shop for printed prosthetic leg covers, socks and clothing.